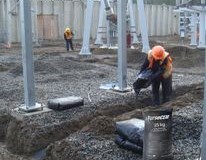
In real life situations projects are located in diverse terrains based on economy of scale and the use of FurseCEM becomes handy to achieve specific earth resistances as the ultimate solution to ensure optimal performance.
Therefore it is paramount to give a comprehensive guard in unleashing the ultimate solution FurseCEM and to master its installation across diverse soil conditions.
In today’s blog, we’ll delve into the typical installation requirements and considerations for different scenarios:
1. Rocky or Stony Soil:
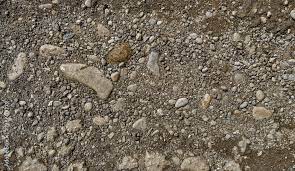
- Excavate a pit to the required depth, removing debris.
- Form a conductive concrete mixture of FurseCEM, cement, and water.
- Pour the mixture around the electrode, ensuring good contact.
2. Sandy or Loose Soil:
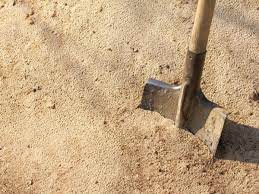
- Dig a trench or pit, considering soil stability.
- Use a retaining structure if needed.
- Pour FurseCEM mixture around the electrode, compacting to eliminate air gaps.

3. Clay or Heavy Soil:
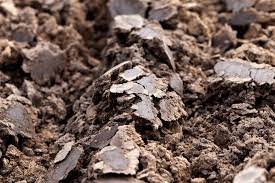
- Excavate carefully, considering soil swelling.
- Create slurry of FurseCEM, cement, and water.
- Backfill around the electrode, ensuring thorough contact.
4. Dry or Arid Soil:
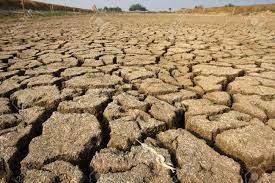
- Pre-wet soil to ease excavation.
- Mix FurseCEM with water and cement for conductivity.
- Ensure proper mixture even in dry conditions.

5. Wet or Saturated Soil:
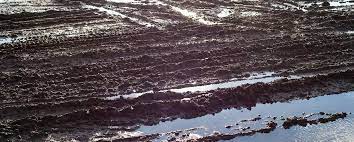
- Remove standing water.
- Adjust mix for wet conditions.
- Consider drainage to prevent water logging.
General Tips:
- Follow manufacturer’s mix ratios.
- Center electrode for optimal conductivity.
- Compact mixture to eliminate air pockets.
- Adapt depth and volume to soil resistivity.
- Prioritize safety with PPE and guidelines.
Mastering FurseCEM installation is paramount for achieving effective earthing across varied soil conditions.
Conducting soil resistivity tests and adhering to professional guidelines ensure optimal performance.
Elevate your earthing experience with FurseCEM and conquer every terrain with confidence.
Ready to Buy and Master FurseCEM Installation?
Contact Fullspectrum today


Power Quality and Energy Management Specialist.
Publisher at Afrienergyonline.com
CEO, FullSpectrum Energy Solutions Limited, Nigeria.


